Wood-Plastic Composite (WPC) wall panels have become increasingly popular in home construction and renovation projects.
These panels offer a unique combination of durability, aesthetics, and easy installation, making them an excellent choice for enhancing the interior or exterior of your home.
This comprehensive guide will provide you with step-by-step instructions on how to install WPC wall panels, along with essential tips and considerations to ensure a successful installation.
I. Understanding WPC Wall Panels
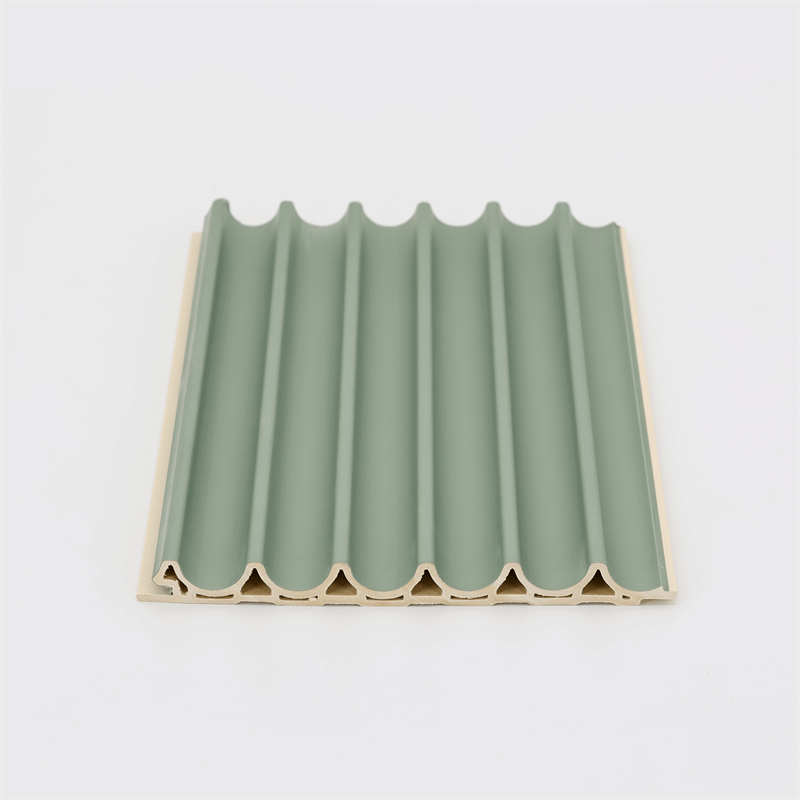
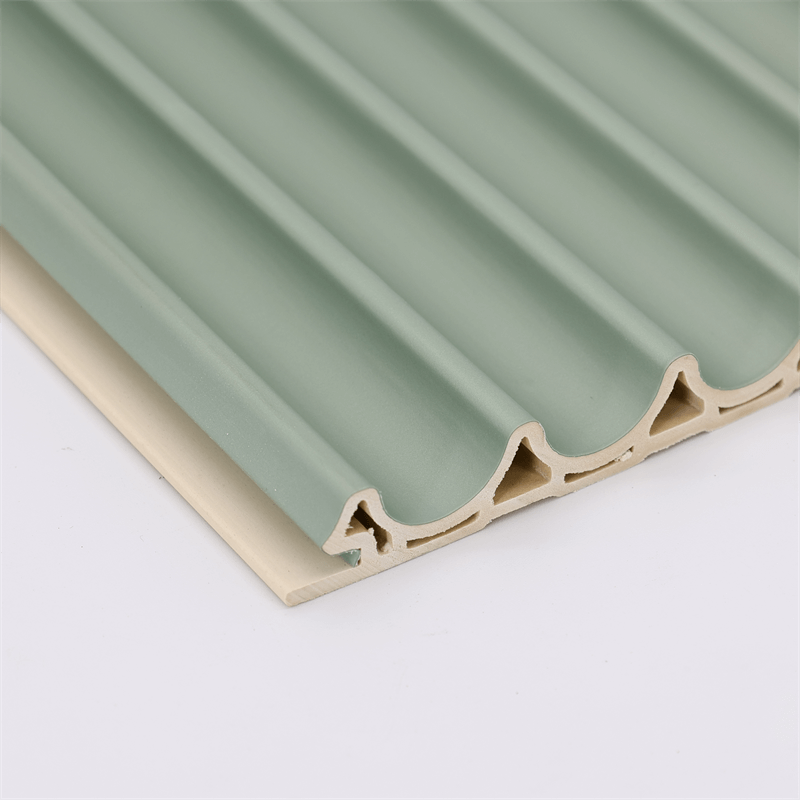
WPC wall panels are made from a combination of wood fibers and plastic polymers, resulting in a strong and durable material that mimics the appearance of wood.
These panels are available in various colors, patterns, and textures, allowing you to achieve the desired look for your home.
Additionally, WPC wall panels are resistant to moisture, rot, and insect damage, making them suitable for both indoor and outdoor applications.
II. Preparing for Installation
Before you begin the installation process, it is crucial to prepare the area and gather the necessary tools and materials.
Start by measuring the wall area where you plan to install the panels and calculating the number of panels needed.
Make sure to leave space for any openings such as windows or doors.
Next, gather the following tools and materials: WPC wall panels, measuring tape, level, saw, screws, drill, adhesive, and safety equipment.
III. Step-by-Step Installation Process
- Prepare the wall surface: Ensure that the wall surface is clean, smooth, and free from any dust or debris. If necessary, repair any damaged areas and apply a primer or sealer to promote adhesion.
- Measure and mark: Measure and mark the desired height and width of the wall panels using a measuring tape and level. This will serve as a guide during the installation process.
- Cut the panels: Using a saw, cut the WPC panels to the required size based on your measurements. Take caution and wear appropriate safety equipment during this step.
- Install the first panel: Apply adhesive or use screws to secure the first panel onto the wall surface. Ensure that it is aligned with the marked guidelines and use a level to check for horizontal and vertical accuracy.
- Continue installation: Install the remaining panels by interlocking or overlapping them with the previous panel. Use adhesive or screws as recommended by the manufacturer. Repeat this process until the entire wall area is covered.
- Trim and finish: Trim any excess material using a saw or appropriate cutting tool. Sand the edges to achieve a smooth finish and ensure a seamless look.
- Finishing touches: Clean the installed panels and remove any adhesive residue. Apply paint or finish as desired to enhance the appearance and protect the panels from external elements.

IV. Tips and Considerations for Successful Installation
Read and follow the manufacturer’s instructions carefully before starting the installation process.Ensure proper ventilation during installation to allow any fumes or odors from adhesives or paints to dissipate.
Take accurate measurements and double-check them before cutting the panels to avoid any unnecessary wastage.
Use appropriate safety equipment, such as goggles and gloves, to protect yourself during the installation process.
Consider the direction of sunlight and its impact on the panels, as prolonged exposure to direct sunlight may cause fading or discoloration.
Regularly clean and maintain the installed WPC wall panels according to the manufacturer’s guidelines to prolong their lifespan and keep them looking their best.
Installing WPC wall panels can transform the look and feel of your home while offering durability and ease of maintenance.
By following this comprehensive guide and considering the tips and considerations provided, you can successfully install WPC wall panels and enhance the aesthetics and functionality of your living space.
Whether you are looking to revamp your interior walls or add a touch of elegance to your outdoor areas, WPC wall panels are an excellent choice for any homeowner.
Take the time to plan and execute the installation process properly, and enjoy the long-lasting benefits of WPC wall panels in your home.
new WPC wall panels or embarking on a renovation project, this guide has provided you with the necessary knowledge and step-by-step instructions to ensure a successful installation.
Remember to prioritize safety by wearing appropriate protective gear and using the recommended tools and equipment.
Additionally, always follow the manufacturer’s instructions and guidelines for the specific WPC wall panels you are installing.
By choosing WPC wall panels, you are investing in a durable and aesthetically pleasing solution that will enhance the overall look and feel of your home.
These panels offer a wide range of benefits, including resistance to moisture, rot, and insects, making them suitable for both indoor and outdoor applications.
Once the installation is complete, don’t forget to properly clean and maintain your WPC wall panels according to the manufacturer’s recommendations.
Regular cleaning and maintenance will help preserve their appearance and extend their lifespan.
In conclusion, with proper preparation, careful execution, and attention to detail, you can successfully install WPC wall panels in your home.
Enjoy the beautiful transformation they bring to your living spaces and the enhanced durability they provide.
Now that you have the knowledge and guidance, it’s time to get started on your WPC wall panel installation journey.
In conclusion, installing WPC wall panels is a fantastic way to enhance the beauty and functionality of your home.
The step-by-step guide provided in this comprehensive guide ensures that you have the necessary information and instructions to complete the installation successfully.
WPC wall panels offer a multitude of benefits, including durability, resistance to moisture and insects, and a wide range of design options.
Whether you’re looking to upgrade your interior walls or create a stunning outdoor feature, WPC wall panels provide a versatile and stylish solution.
Remember to carefully prepare the wall surface, accurately measure and cut the panels, and use the appropriate adhesive or screws for installation.
Take your time to ensure proper alignment and levelness, as this will result in a professional and visually appealing outcome.
Once the installation is complete, be sure to follow the manufacturer’s guidelines for cleaning and maintenance to preserve the panels’ longevity and appearance.
By following this comprehensive guide, you can confidently embark on your WPC wall panel installation project and transform your home with a durable and aesthetically pleasing solution.
Enjoy the benefits of WPC wall panels and take pride in the beautiful and functional space you have created.